Subtitles are more helpful than you may imagine.
Adding subtitles to YouTube videos is usually not a top priority for most people as they are not fully aware of the numerous benefits.
Most people assume that subtitles are only useful for people who are deaf, hard of hearing, or who speak a different language.
It is also quite common for people with normal hearing to turn on subtitles to listen to a video when they don't have access to their headphones. Or because they want to better understand what is being said.
In this article, I am talking about the benefits of using closed captions in your videos, including how subtitles will help your channel grow fast.
I also share different AI-based transcription services and compare them to human translation services and explain how to get the best results for your channel.
Why are subtitles so important for your YouTube videos?
Adding closed captions and subtitles to your YouTube videos helps you grow your channel and gives you a competitive advantage over other YouTubers.
Once verified, subtitles and closed captions act as metadata that will be indexed by both YouTube and Google for full-time search.
You can learn more about how this works in my breakdown of the YouTube algorithm.
The subtitles in your video help YouTube understand what the video is about and what topics you are discussing. YouTube then links your video to several matching topic nodes inside its global interest cluster map, where it matches it with viewers interested in similar or related topics for personalized video suggestions.
This dramatically increases the chances of growing your YouTube channel with people from your audience, which in return also boosts your video views.
Subtitles improve your YouTube video SEO
There are four text-based YouTube SEO ranking factors that influence how well your video performs in YouTube and Google search results.
- Your video title
- Your video description
- Your video tags
- Your video subtitles
The most important ranking factor is your video subtitles because they represent the literal transcription of your video.
This allows YouTube to look at each video as a full-text article that can be analyzed with Google's advanced semantical text analysis tools, thus allowing Google to rank YouTube videos on page one of search results.
You will always get the best results by uploading your own subtitles. YouTube's auto-transcription feature often has a limited vocabulary, especially when it comes to brand names.
If YouTube doesn't understand a specific word, it might either omit it or replace it with a wrong replacement word.
Either way, the effect is the same: When an important keyword doesn't exist in your subtitles, neither YouTube nor Google can rank your video for it.
But don't worry, today you will discover how you can set up your own list of custom vocabulary, so your videos never miss an important brand word.
Also, something to note, YouTube has rolled out video chapters for videos. You can choose to enable this feature or create your own chapter (timestamps) so viewers can easily head straight to specific moments in the video to get their answers quickly.
Increases accessibility and enables viewers to "watch" your videos anywhere
Viewers in quiet environments, such as libraries, co-working spaces, or offices, are able to watch YouTube videos without disturbing the people around them.
Furthermore, they allow users with hearing difficulties to enjoy your videos.
Even many people with "perfect ears" enjoy watching videos with subtitles turned on simply because it simplifies their ability to process the content of your videos by using two senses at the same time.
And let's face it, not every word is pronounced perfectly every time, especially by YouTubers who speak English as a second language.
Subtitles are the perfect tool to fix this!
Raises viewers' engagement
Often, subtitle readers are much more engaged than regular viewers.
Adding subtitles can increase the amount of time a user spends watching a video by more than 40%.
When subtitles were present, 80% more people watched YouTube videos to the end.
This is a key metric if you enable your videos for post-roll ads and can significantly increase the amount of money that you make with YouTube's Partner Program.
The increase in watch time—YouTube's most important ranking factor—is seen by the YouTube algorithm as an increase in video quality, and consequently, your videos are organically recommended to more viewers, with an increase in views and subscribers.
Additionally, subtitles are the only way to capture someone's attention with auto-play videos, which are only allowed to auto-play muted in modern browsers.
Subtitles help you grow an international audience
Can you reach a broader audience by translating captions and subtitles?
Yes, absolutely.
Subtitles are one of the most cost-effective solutions to reach new audiences from all over the world on YouTube.
By translating your subtitles into other languages, you increase the chances that YouTube will show your English videos for foreign search terms.
All you need is to upload verified subtitles of the video's native language.
Viewers can then open the subtitle menu and request an on-the-spot subtitle translation into any language of their choice via Google Translate.
It is important, however, to understand that this auto-translate feature will not allow you to rank for translated keywords and phrases in foreign languages.
For this to happen, you have to upload creator-verified foreign subtitles in YouTube Studio.
I recommend checking out my tutorial on how to best translate your YouTube subtitles below.
The problem with YouTube's building-in video transcriptions
YouTube has a built-in transcription feature that automatically transcribes all your new uploads by default.
While YouTube does a decent job, its subtitles are by no means perfect.
There are three main reasons for not using the built-in subtitle generator.
Transcription accuracy is low.
YouTube often struggles with brand names and phrases.
Whenever YouTube's auto transcription tool hears a word it doesn't know, it usually tries to replace it with something that sounds similar.
Using "TubeBuddy", for example, could at best be converted to "tube buddy", while at worst you might get only a partial match, for example, "youtube" (maybe it thought you meant to say "youtube" but then mispronounced it as "tube") or "buddy".
That is, you must spend a lot of extra time fixing broken words in your subtitles file.
This issue can be easily fixed with custom dictionaries in better AI transcription tools.
YouTube also does not capitalize any words.
Every single word in YouTube's auto-captions is always lower case. Even their own brand name, "YouTube" is butchered into "youtube".
Viewers who are reading your subtitles can be very distracted by this when they notice it.
It can also create a bad impression when some viewers might assume that you don't know how to write.
Luckily, there are many great software solutions with built-in capitalization rules.
YouTube does not add any punctuation marks whatsoever.
Even worse than capitalization is YouTube's approach to punctuation.
Autogenerated subtitles simply have no punctuation.
Lack of punctuation is often tiring for the eyes because there are no visual anchor points for where to jump back if you misread a word or skipped a line.
It is also near impossible to accurately use any auto-translation feature to internationalize your subtitles. Today's AI is not smart enough and might do something silly such as translating from the middle from sentence 1 till the middle of sentence 2, instead of sentence 1 + 2 separately.
Again, this can be easily fixed by a more intelligent machine translation application.
The solution is to use an external transcription service.
To overcome the limitations of YouTube auto-subtitles, we must use an alternative, external transcription service.
There are two different solutions, with stark differences in terms of pricing.
On the one hand, we have pure software solutions that usually utilize AI and machine learning technology to create high-quality transcriptions within minutes.
The quality of machine transcription services offers an extreme variety.
I have tested about 10-15 services personally, and most solutions are of the same or lower quality than YouTube's auto caption.
Only two services had an exceptional quality that far surpasses YouTube's on transcriptions in transcription accuracy, capitalization, and punctuation.
On the other hand, we have human-based transcriptions.
These can be a hit or miss.
A small number of questionable human transcribers simply pass off a machine transcription as their own.
Native transcribers who do their job well will have much higher accuracy than even the best machine learning transcription services.
This usually comes with premium pricing and extended wait times.
If money and turnaround time are an issue, I always recommend starting with a good machine transcription service first.
Otter.ai
Otter's Free Plan
Otter offers a very generous free plan with 10 hours(!) of free audio transcriptions.
The transcription quality is the same for all Otter's plans, free or paid.
In the free version, audio files are limited to 30-minutes per file, and you only have access to 5 dictionary words. But hey, you will never find this much value for free anywhere else.
Otter's Pro Plan
If you need a little more, you can upgrade to Otter's Pro plan.
It gives you up to 100 hours of transcriptions per month. Audio files can be up to 4 hours long, plus you get an extensive custom vocabulary or 200 custom words + 200 names or people.
The price is very reasonable. You pay the equivalent of $8.33 per month if you pay annually in one lump sum of $99.99. (You can get 50% OFF if you are a student)
How to transcribe your YouTube video with Otter
First, log into your Otter account.
At the top right corner, click on the white Import button.

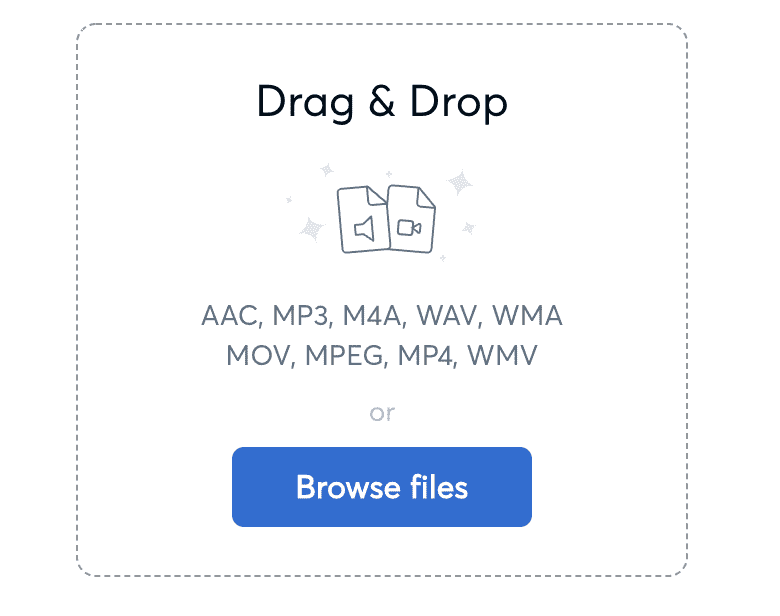
Next, drag and drop your audio file into your browser window.
Otter supports AAC, MP3, M4A, WAV, WMA, MOV, MPEG, MP4, and WMV.
Yes, that is right, you can just upload your entire YouTube video, and Otter will extract the audio track and transcribe it.
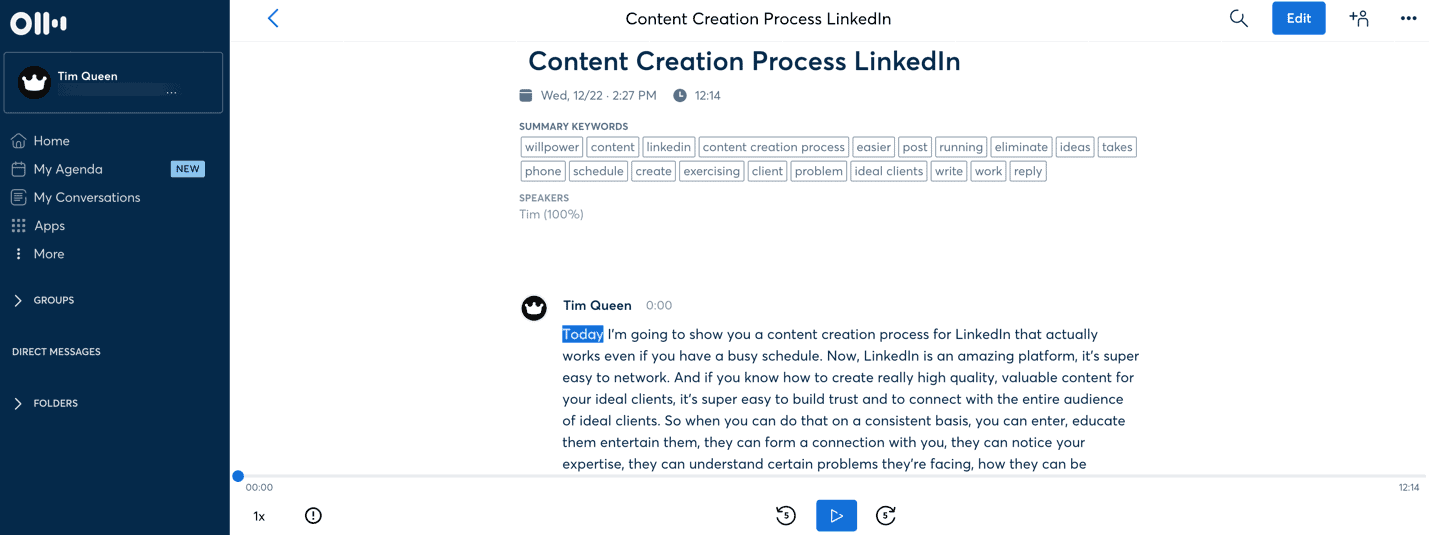
After a few minutes, your transcript will be ready.
I recommend proofreading it and then using the Edit button to correct any small mistakes.
Once you are happy, it is time to export your transcript.
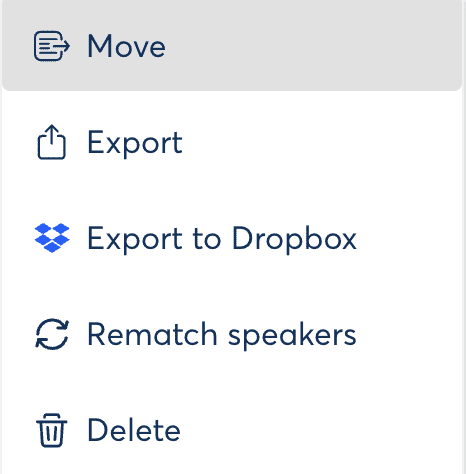
Click on the three... at the top right.
Then click on Export.
Please note: Never export your transcript as an SRT subtitle file.
Although you can import this into YouTube, you will get much better results by exporting it as text and then letting YouTube sync up your script with your video.
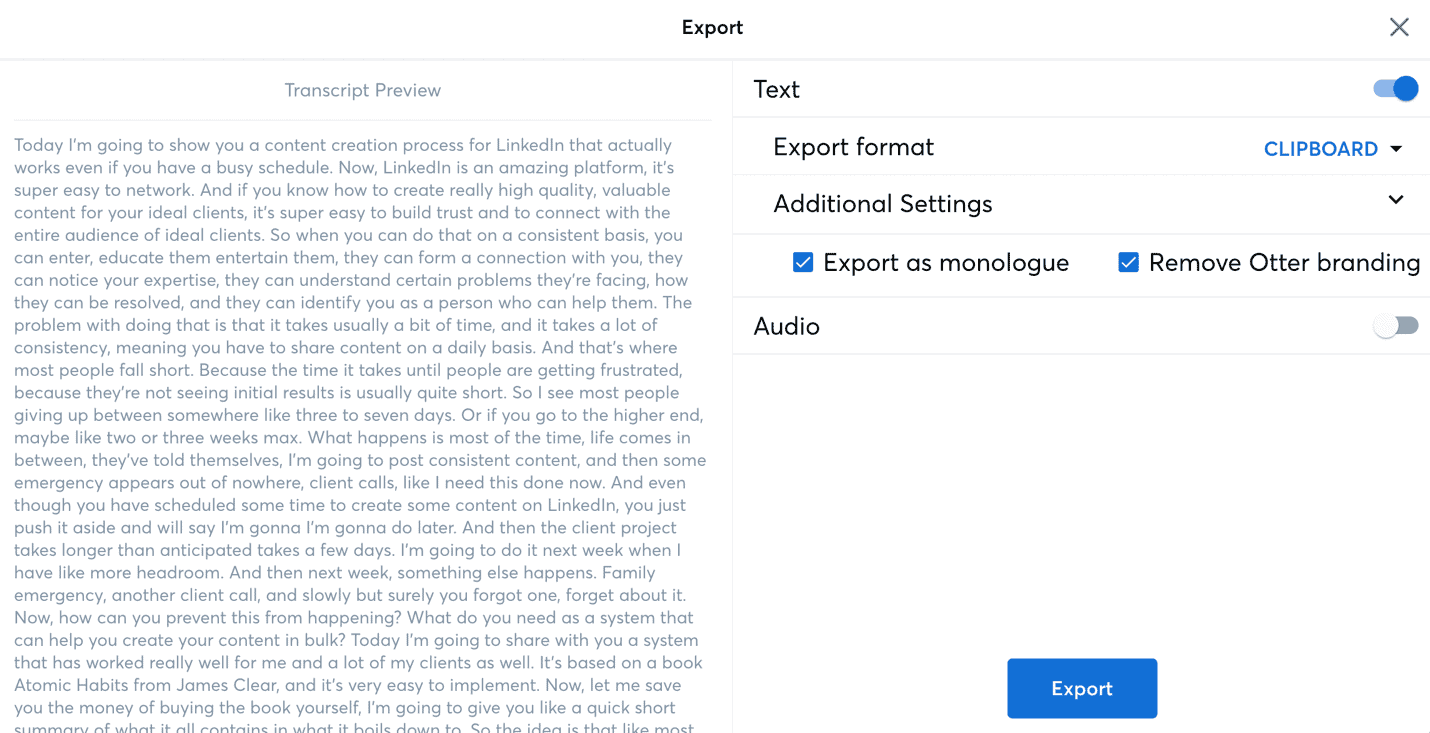
As the export format, select Clipboard.
Then open the Additional Settings section and check Export As Monologue and Remove Otter Branding.
To learn how to upload your transcript, read the section Uploading Your Subtitles on YouTube below.
Descript
Descript Free Trial
Descript does not offer a free plan, but you can sign up for a risk-free trial with no credit card required. Each trial gets three hours of free transcriptions.
Descript Creator Plan
Descript's Creator Plan gives you "only" 10 hours of transcriptions per month.
While this looks tiny in comparison to what Otter has to offer, you have to keep in mind that Descript offers so much more than Otter.
For example, it allows you to edit your video like editing a word document. Repeating yourself, just select the words that you want to remove in the text transcription and hit delete.
Descript knows the exact start and end of each word and can make perfect video cuts for you in real-time.
Pricing is equivalent to $12 per month if you pay annually in one lump sum of $144.
Descript Pro Plan
Descript's Pro plan gives you 30 hours of transcription, but you also get these extra features:
- Unlimited Overdub. Allows you to overdub yourself with your own voice. If you mumbled a word, just type in the correct word, and Descript will use your voice to replace broken audio.
- Filler Words Pro. Have a lot of ahhs and emmms in your speech. Just press the Filler Words removal button in Descript, and it will cut them out of your video.
- Audiograms Pro. Select any text from your transcript and turn it into a small audiogram that you can share on social networks.
- Publish Pro. Share audio/video of up to 3 hours in length.
- Batch file export. Precious time-saver, especially if you love to create content in bulk.
Pricing is equivalent to $24 per month if you pay annually in one lump sum of $288.
How to transcribe your YouTube video with Descript
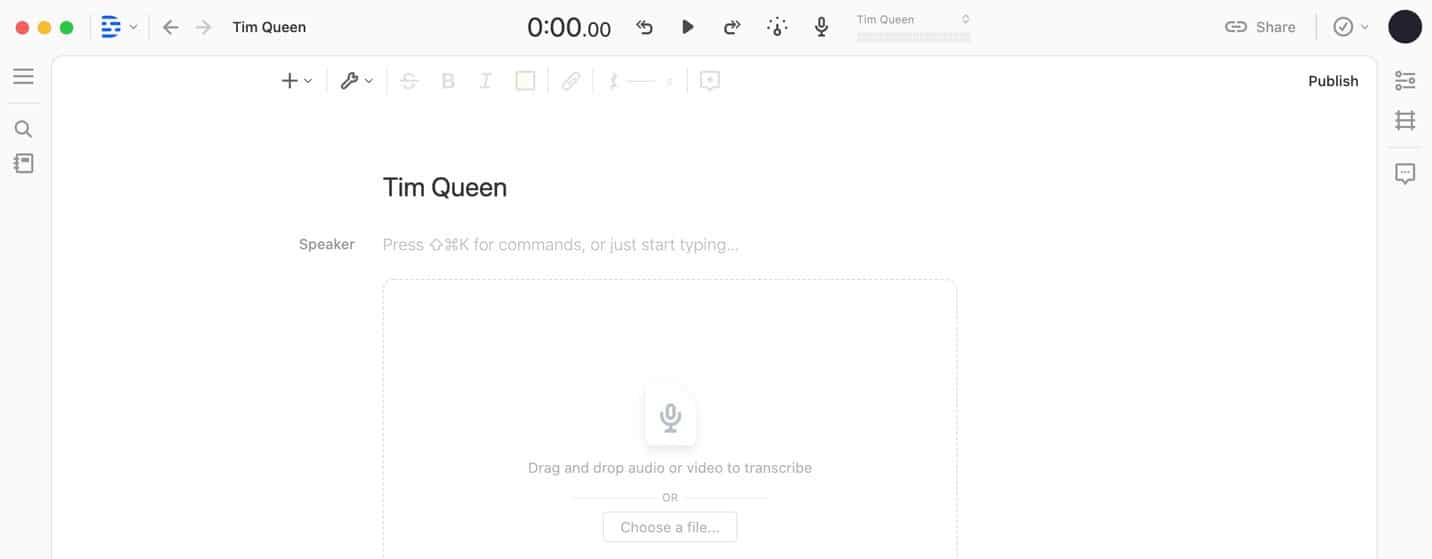
Start the Descript app on your computer and create a new project.
Drag and drop any audio file of your choice into the main window.
Descript will automatically transcribe your video.
Once everything is ready, click on the Share button in the top-right menu bar.
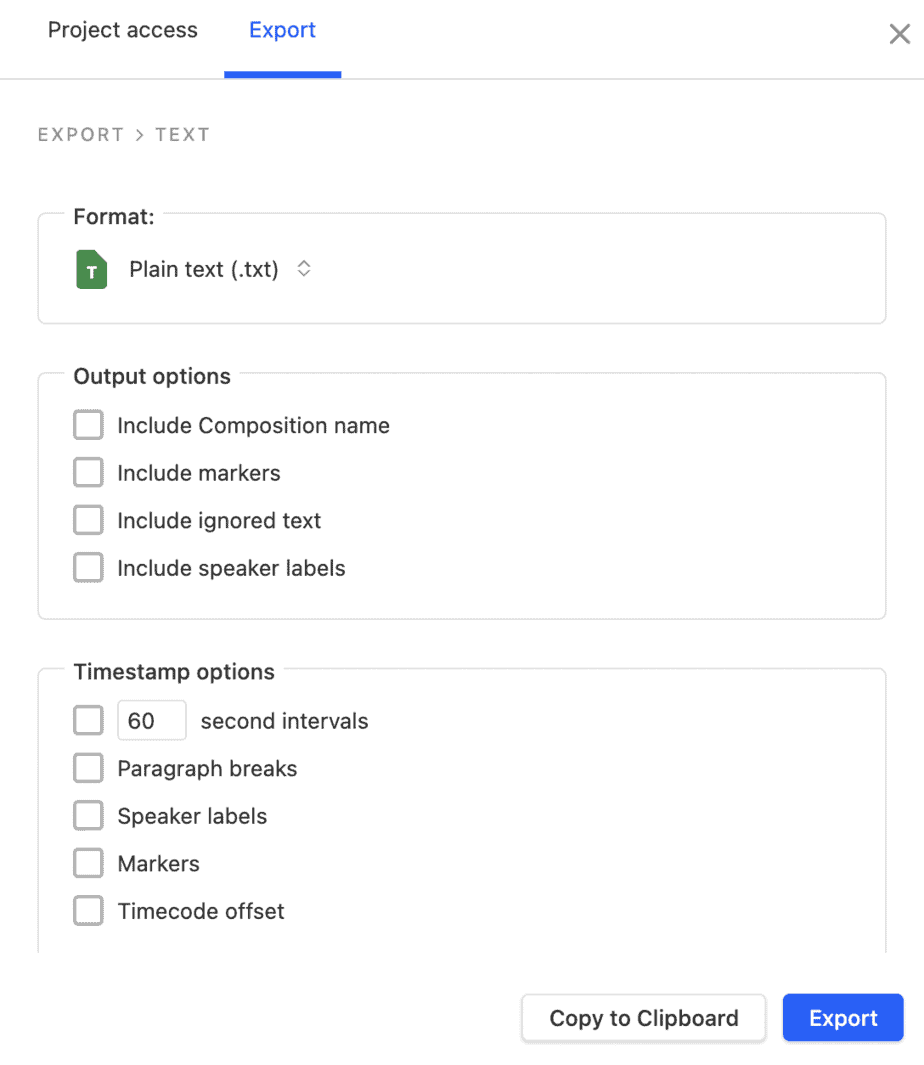
Click on Export, and then under File Export, select text.
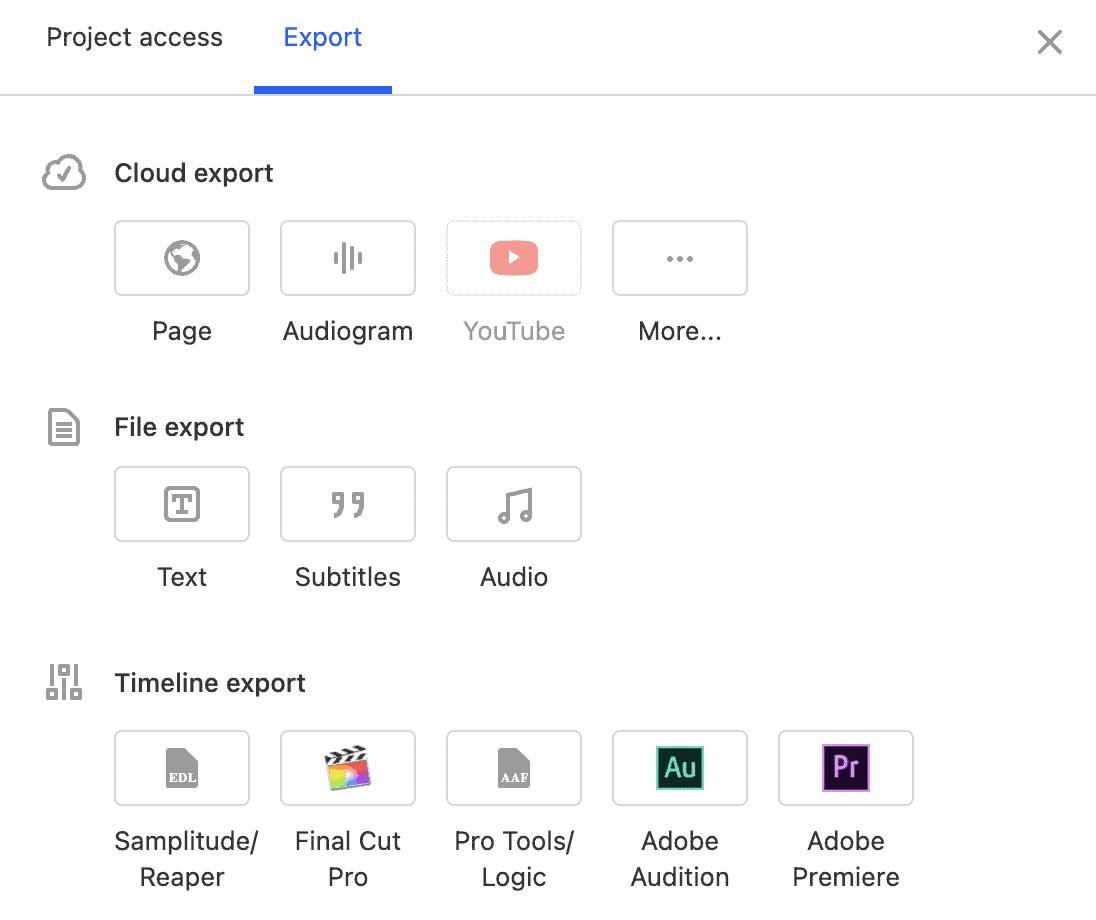
Change the format to plain text, and then uncheck all the checkboxes.
Finally, click on Copy to Clipboard.
I will show you how to upload your transcript in the Upload Your Subtitles on YouTube section.
Human transcriptions
There are many human transcription services at various price points and qualities.
A professional human transcriber is usually always a master of 10-finger touch typing. Equipped only with a keyboard and a foot pedal to press play and pause, they will listen to your audio track while typing out everything word by word.
Today, there is an – often cheaper – alternative to this manual approach. A modern transcriber might upload your audio file on Otter or Descript first, and then just edit the mistakes.
Unfortunately, there is no way of knowing which of the two services you get. Some might even charge you the manual approach and then secretly use machine transcriptions to make more money.
My recommendation is to first transcribe a short test audio file that is a bit more complicated with Otter and Descript, and then compare both results with what a human can do.
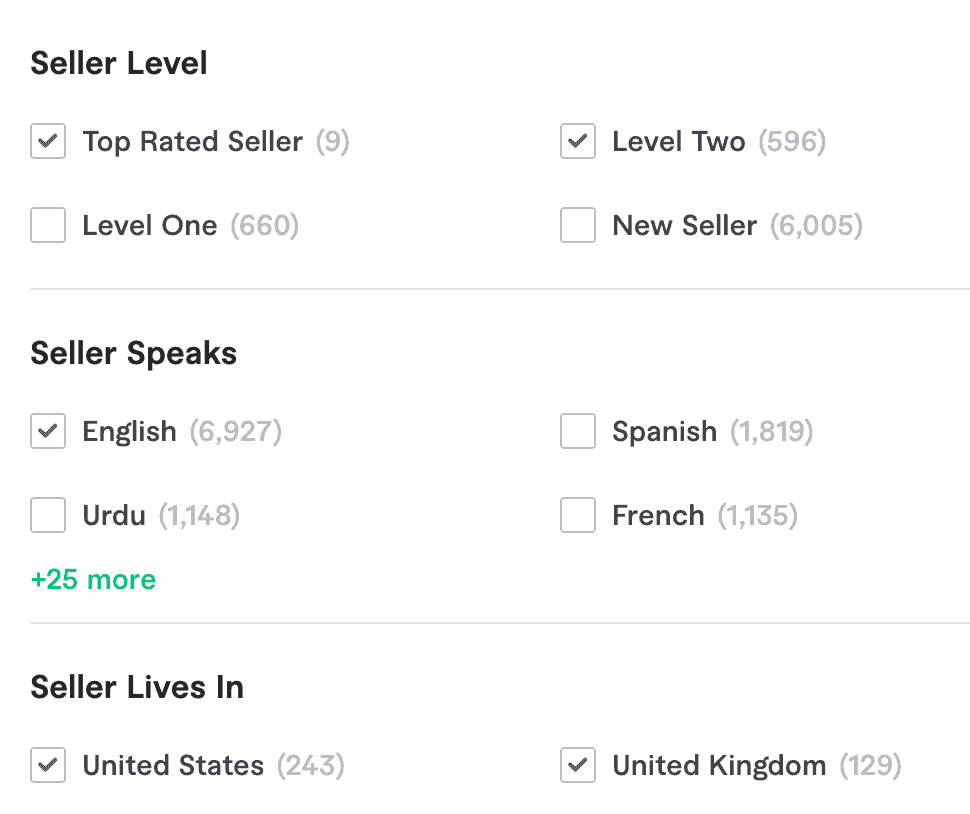
I recommend starting your search on Fiverr by looking for someone with a Level 2, Top-Rated, or Pro seller.
Besides the overall rating and a high number of sales, I would also look for a native English speaker in an English-speaking country.
It's always better to pay a bit extra for quality than to go through 10 revisions because the seller wasn't qualified or didn't deliver what they promised.
Here are a few services that you can check out.
Always send a message to the seller first before placing an order.
I recommend including a link to your file that you want to transcribe so they can give you a personal quote and highlight if they can work with the audio quality and any accent that you might have.
Optimizing your subtitle files
One trick I discovered while working on the subtitles for my own YouTube channel was that the formatting of your transcription matters.
By default, both Otter and Descript will not add line breaks. Each sentence is separated with a single space.
If you paste a text without line breaks into YouTube's subtitle maker, YouTube will split your sentences often midway.
A better solution is to create empty lines between each sentence.
Example:
Instead of this:
Today I am going to show you a content creation process for LinkedIn that actually works even if you have a busy schedule.
Write it like this:
Today.
I am going to show you a content creation process for LinkedIn.
That actually works.
Even if you have a busy schedule.
If you paste this text with line breaks between each sentence into YouTube's subtitle maker, YouTube will try to split sentences at the punctuation mark and not by a specific number of words.
This dramatically increases readability for viewers.
Upload your subtitles to YouTube.
Step 1: Open YouTube Studio and upload a new video
Step 2: Navigate to the Content tab and open your new or existing video.
Step 3: Hover over the video title until the video toolbar appears.
Step 4: Click the pencil icon to open the Details page.
Step 5: Click on Subtitles in the left menu bar.
Step 6: If your video was only recently uploaded, you might have to wait until YouTube internally transcribed it. This step is important as YouTube might not be able to sync your subtitles otherwise. You will know that YouTube has completed its internal video transcription if you see an entry called "English (Automatic)
Step 7: Click on Duplicate and Edit to create a copy of YouTube's auto-transcription.
Step 8: Make sure you are in transcript mode. You might have to click on Edit As Text.
Step 9: Select everything by pressing CMD+A on a Mac or CTRL+A on Windows.
Step 10: Copy and paste your full-text transcription from Otter or Descript.
Step 11: Click Publish
Step 12: Unpublish YouTube's automatic transcription.
Step 13: Open the video on YouTube and test the subtitles.
Translating your subtitles
There are two ways to set this up: the right way and the lazy way.
Let us start with the lazy way first.
All you need is to upload a high-quality subtitle file in the video's native language.
YouTube has a built-in Google Translate feature within the subtitle selection tool. This allows viewers to translate the original subtitles on the spot into almost any language imaginable.
The downside of this approach is that this only works on demand.
Let's say I was a German speaker watching a YouTube video with English audio and subtitles. If I flipped on subtitles by default, it would show the native English subtitle file. I would have to manually request the translation.
This brings us to the right way.
As video creators, we take on the responsibility of translating subtitles into different languages ourselves.
The process starts very similarly. We upload our perfect subtitle file to YouTube, including capitalization, punctuation, and ideally mostly short sentences.
We then add a second language, German. In our example, click on "Add Subtitles" and then select "Auto Translate". Within seconds, a new subtitle file is generated in our target language.
Now all you must do is to either proofread it yourself or to ask a native speaker for help and then press "Publish," and you are done.
The difference to the previous approach is that if a native German speaker with turned-on subtitles opens the same video, YouTube will automatically select and display the German subtitles without the need to manually request a translation.
Give your YouTube channel's videos an added boost with subtitles
What audio-to-text transcription service should you get?
Here is my personal recommendation.
Sign up for the free Otter plan and see if it suits your needs.
If you need a larger vocabulary, upgrade to Otter's Pro, it is worth every penny, and with 100 hours of transcription time per month, it is almost impossible to ever run out of minutes.
You can also sign up for a free Descript trial. You get 3 hours of transcription that do not expire.
Some people love the ability to edit videos like a Word document. If that works for you, consider upgrading to the Descript's Creator plan for a month and see if it works for you.
Start by transcribing all your existing videos with the app of your choice.
As your channel grows, review your audience analytics in YouTube Studio to see in which languages your viewers speak.
Focus on the top three non-English languages and start translating your video titles.
Next, it's time to talk about your overall YouTube strategy.
If you want to learn how to grow a successful YouTube channel, you have to learn how to increase your video watch time, how to design better video thumbnails, and how to write better video titles to maximize your video click-through rate on YouTube.
I recommend checking out my TubeBuddy review to learn how to easily optimize each of your uploads for YouTube SEO.
If you really want to improve your game, learn how to develop a killer content strategy for your YouTube channel.
If you are interested in increasing the production quality of your video, check out my article on the best royalty-free music services.
Or, allow yourself to get inspired by my article about the best Q&A questions for future video ideas.